


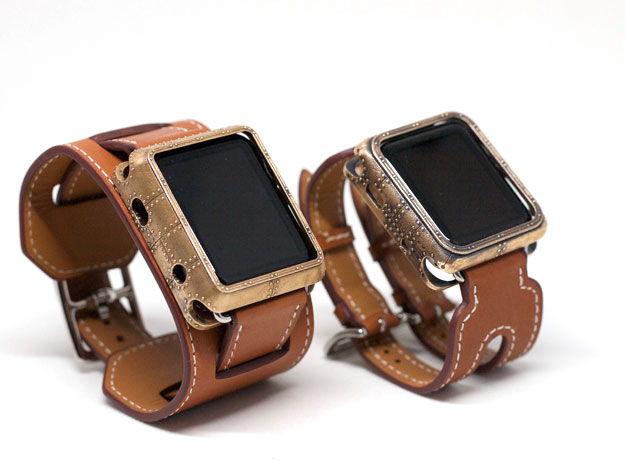
I decided to revisit the Ironclad Apple Watch cover after the success of the initial version. (The detailed account can be read here.) I had planned on making a truly steampunk version - still in the works, I’ve just been sidetracked by things lately - but I did get around to making a copy in silver and a cover for my wife’s 38 mm Apple Watch.
The Silverclad Cover
One reason why I chose bronze when I made the first cover is that silver is more expensive than bronze. I did make plastic prototypes on my home 3D printer to minimize the likelihood of a mistake but I think we’ve all had those times where we’ve measured something multiple times and then when you cut the 2x4 the piece magically doesn’t fit.
If I had somehow messed up on a measurement it would have been more costly had I made my first metal cover in silver. I did like the bronze color, especially for that vintage look, however silver with a nice patina looks really classy and goes with more things.
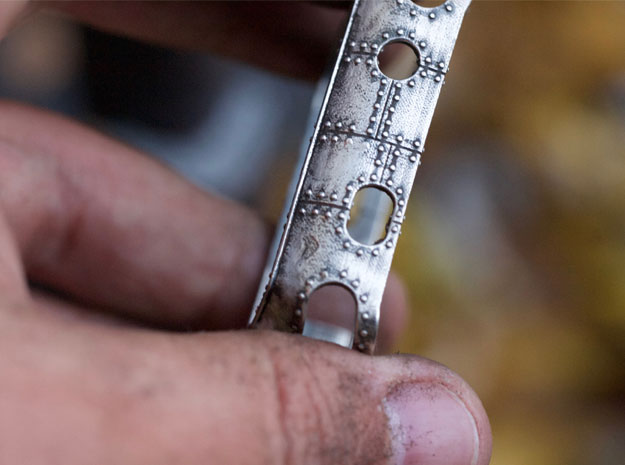
Since I knew that the cover would fit all I had to do was order another copy from Shapeways. I picked raw silver because it’s just mechanically polished and tends to show print lines and have a rougher surface texture. Since I wanted the cover to have more pits and scratches - i.e. - places for the patina to reside - it was the perfect choice.
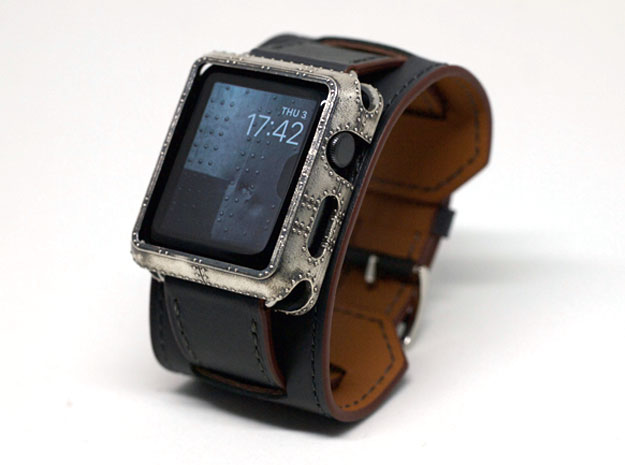
Now it was just a matter of waiting for the case to be made and shipped to me. I placed my order on 10/19 and it arrived on 11/03 - around two weeks. Like last time, I ordered an EloBeth leather cuff from Amazon for $22 with free Prime shipping. I got it in gray to go with the silver cover. I think the brown cuff I previously purchased is slightly better quality, but for the price I’m not really complaining.
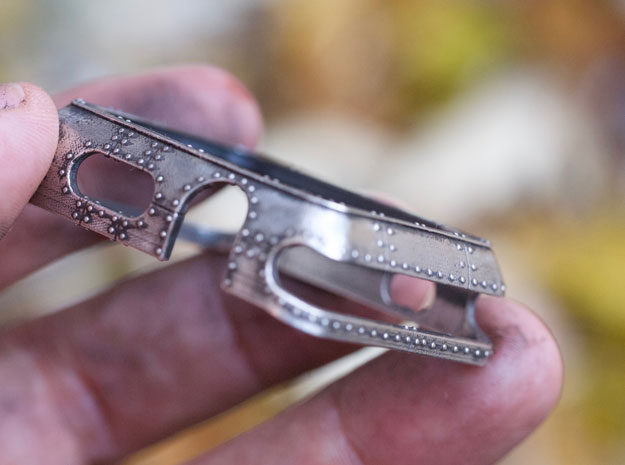
There can be slight variations between individual prints so when the cover arrived from Shapeways I immediately put it on my Apple Watch to check for fit. This is especially true when printing something in steel (which I don’t recommend using if you need accuracy because it will shrink and distort depending on it’s print orientation and how it’s cured).
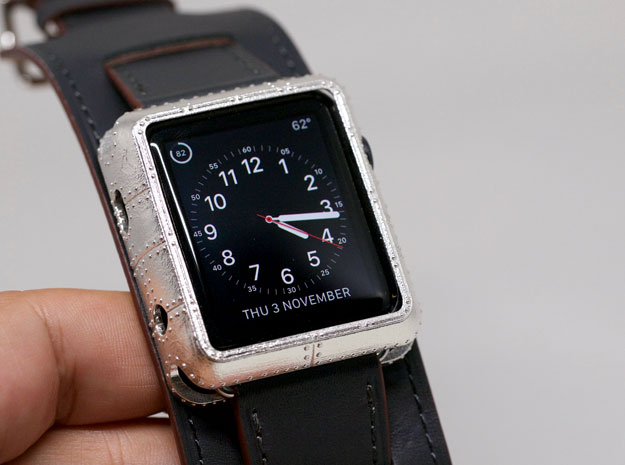
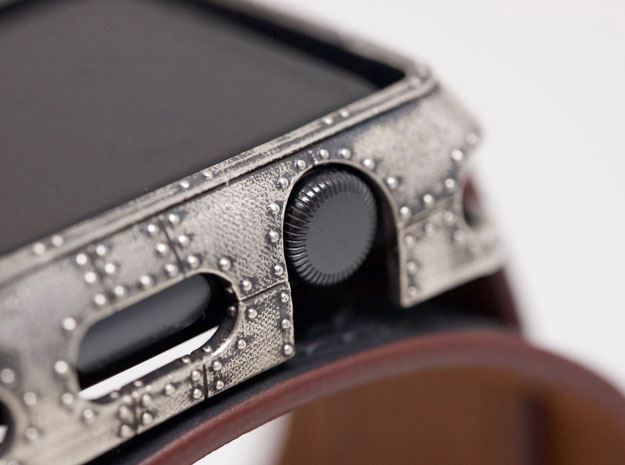
The "Silverclad" cover was fine though! It fit exactly how its was supposed to and looked pretty cool to boot. I almost didn’t want to add the patina. Almost.
I filled my trusty beaker with a mixture of Liver of Sulphur and hot water and placed the silver cover into the stink (REALLY rotten eggs). After a time I removed the cover and it had a really cool looking matte gray. It almost looked battleship gray which, à propos of the design inspiration, seemed appropriate. Again, I almost didn’t want to change it. Almost.
Battleship Gray
I popped a polishing bit on my Dremel and started the process of distressing the cover. As I went about the task I grew more glad that I did the patina because (a) I thought it was coming out really great and (2) it gave me some really cool ideas on where I would like to go in the future.
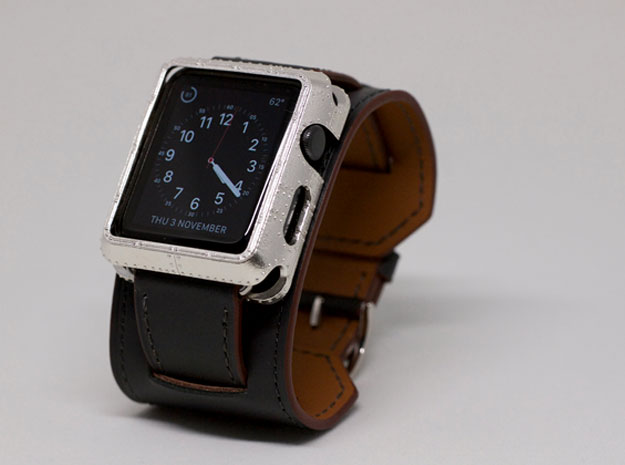
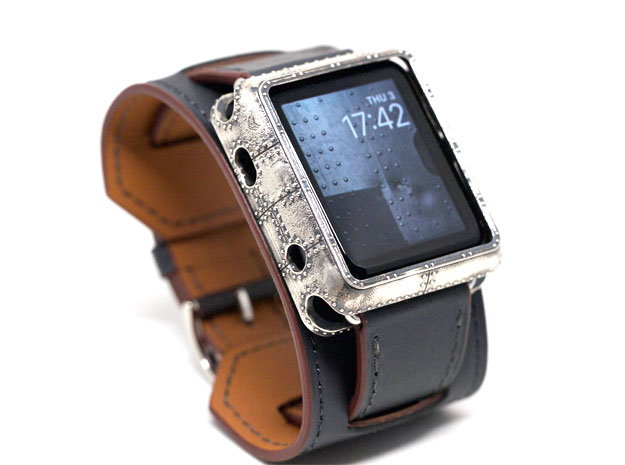
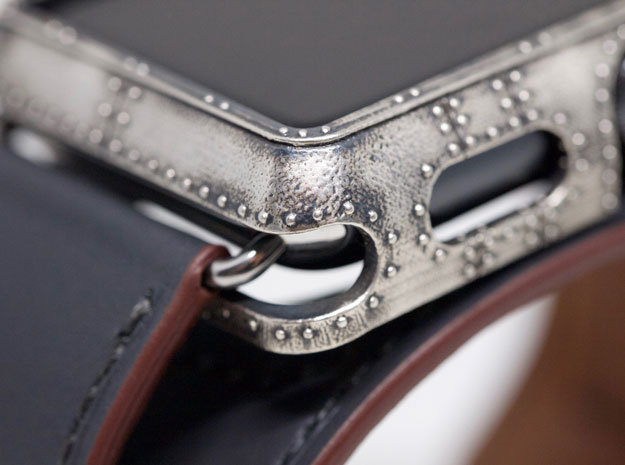
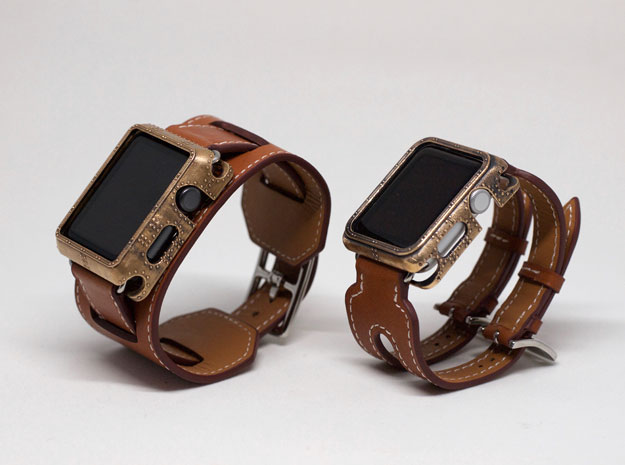
Here are some photos of the finished cover on the Apple Watch and with the gray leather wrist cuff.
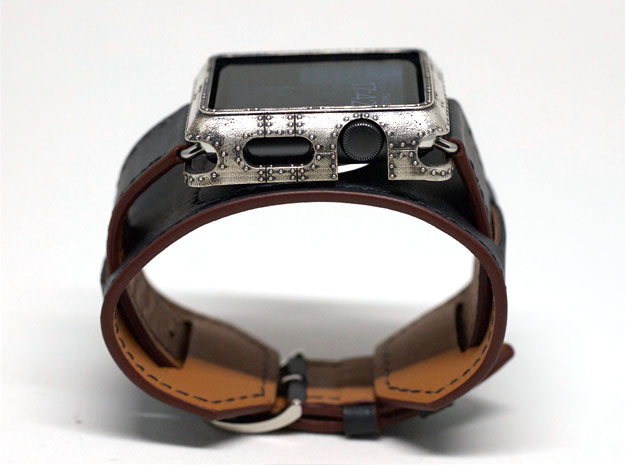
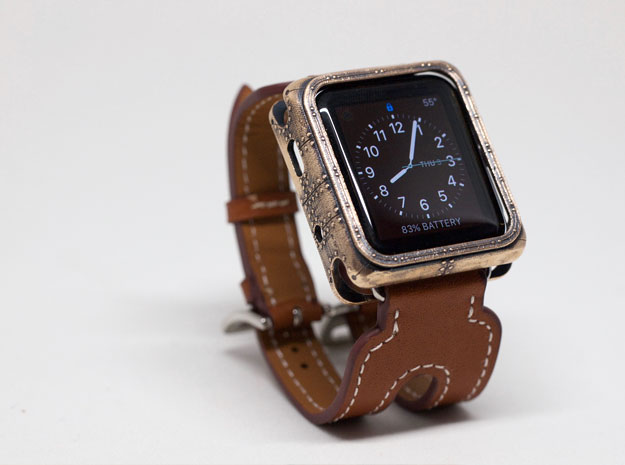
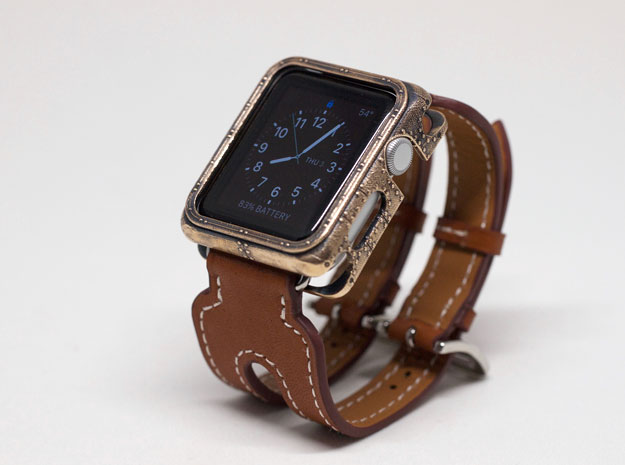
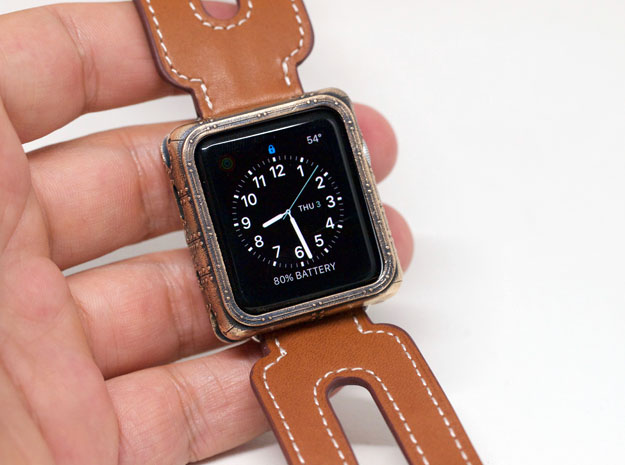
The Ironclad ’38
My wife also just got an Apple Watch and as you might guess, it was the smaller version. Now I could use her watch as a cover Guinea pig! You’d think - and I certainly did - that it would be easy enough to just scale the 42 mm cover down to fit the smaller watch. But, it didn’t work right so it was back to the drawing board.
Since I had gone through this when I made the 42 mm cover the process went somewhat quicker. Again I consulted the “Band Design Guidelines for Apple Watch,” made a new digital lug in Rhino, and got to work. In deference to my wife I made the new case as thin as I could so as to not add too much extra bulk to the watch. We’re talking shaving off a few tenths of a millimeter here and there but I’m a firm proponent in the aggregation of marginal gains.

New design, new prototypes printed in SLA on my New Matter MOD-t 3D printer.
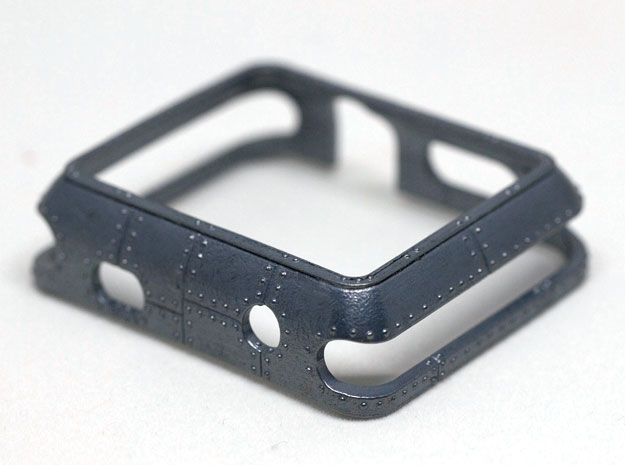
The first prototype is when I just tried to scale the original cover to fit the smaller watch. It didn’t work at all. So really, it only took me two prototypes before I got a cover that worked. Then it was just rinse and repeat; open the finished cover in ZBrush and start sculpting in the details. After that, upload to Shapeways and order a print. I got bronze again because I didn’t want to be out too much money in case it didn’t fit - and I was more concerned about that this time because the tolerances were a lot tighter than for the previous cover.
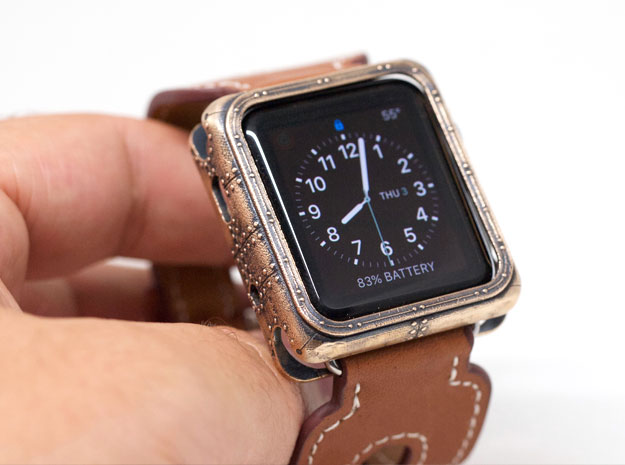
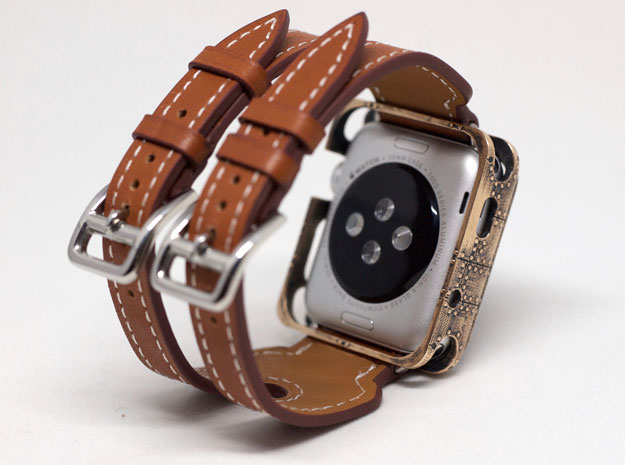
Aesthetically this version had to be more feminine so instead of the cuff style band I opted to get the Double Buckle Cuff that EloBeth offers. It’s slightly more affordable than the Hermès version that Apple sells. I wasn’t sure how it would pair with the cover but I figured I might as well give it a shot. (I think it looks really awesome).
When the cover arrived (it arrived with the silver cover) I went about my business. So while I was working on the Silverclad cover the ’38 was sitting in the Liver of Sulphur. I thought it might be neat to show just have fast a reaction the sulphur bath has on the metal. I put half the cover in the water for about 30 seconds and then removed it. The photos show the difference. Pretty crazy huh?
-
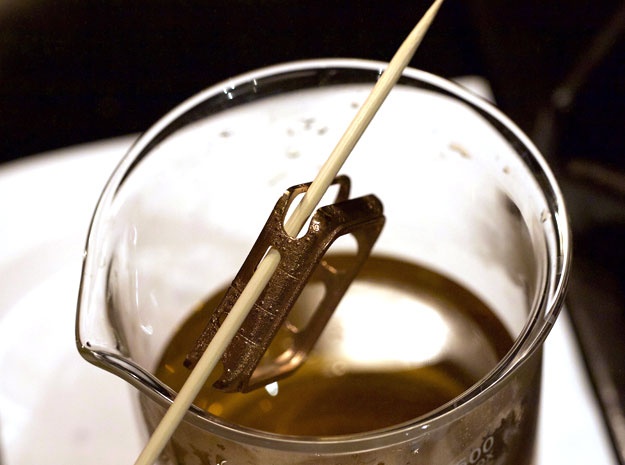
- Before Dip
-
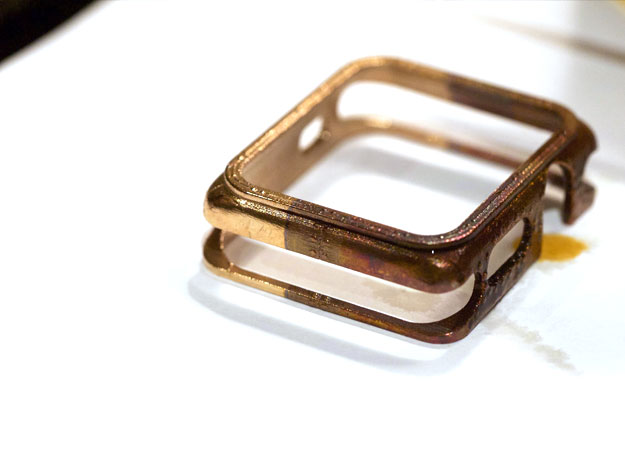
- After about 30 seconds!
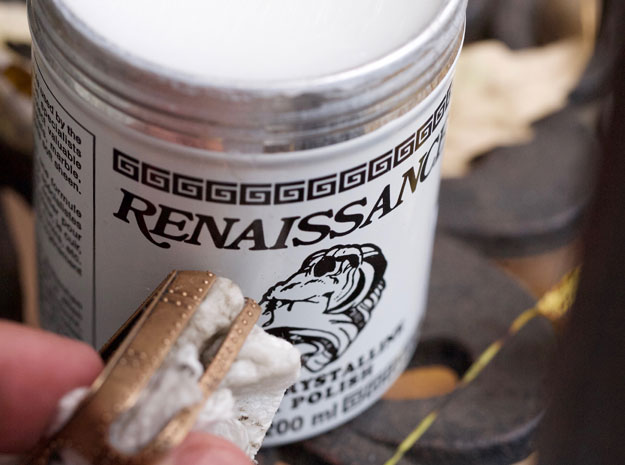
Anyway, soon I was polishing the cover with the Dremel and really getting a kick out of how it was coming out. When I reached a point where I was happy with the patina, I applied some Renaissance Wax (I omitted this step in my previous post) to preserve
the finish and buffed it with a paper towel.
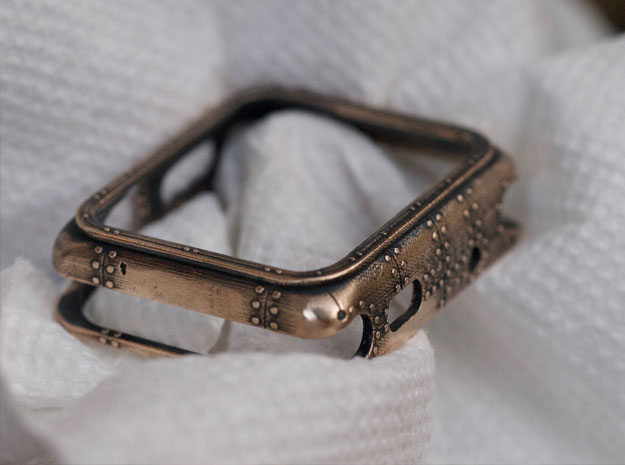
Here are the photos of the finished cover!
If you are interested in purchasing one of these Steampunk Apple Watch covers I have them for sale on this website (42 mm | 38 mm) on Etsy, and via Shapeways.
Side note on the photos: I use an old Olympus E-PL1 camera and an Olympus 60 mm macro lens. All the photos are taken using a Foldio 2 as a lightbox.
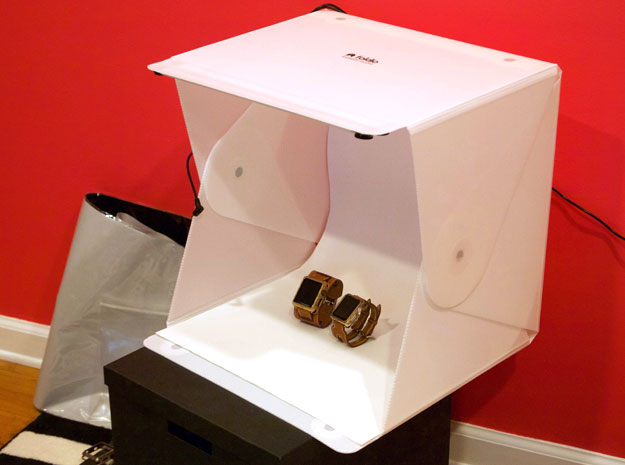
If you find yourself needing to take lots of pictures of small things it’s invaluable to have around. The Foldio 2 is great because it’s bigger than the Foldio 1 (which I had been using) and it has two LED light strips that plug into the wall (the first one had one strip and it ran off a 9 volt battery). It makes it super easy to take photos in a neutral environment and which makes color correction a snap.
Comments are closed.