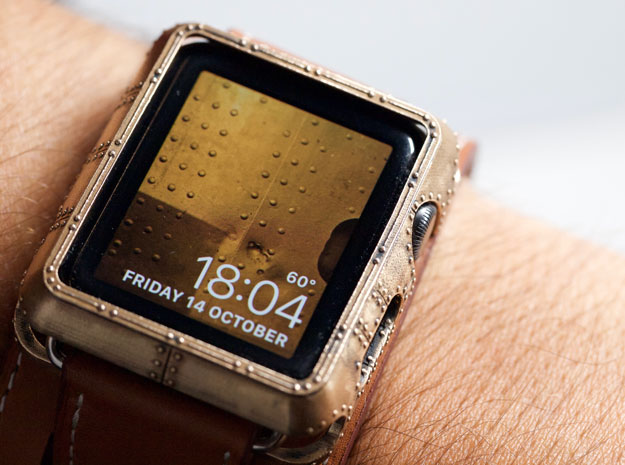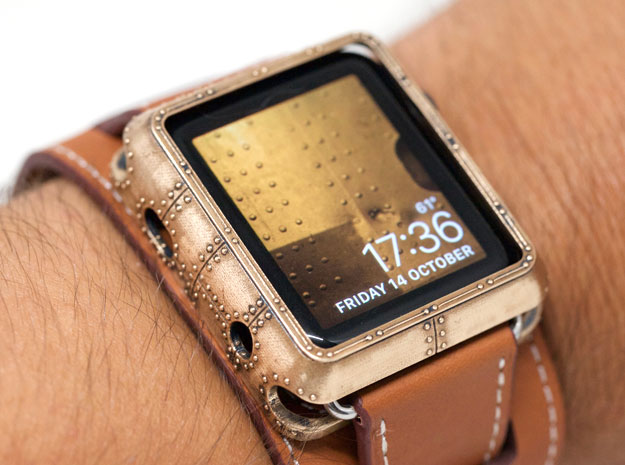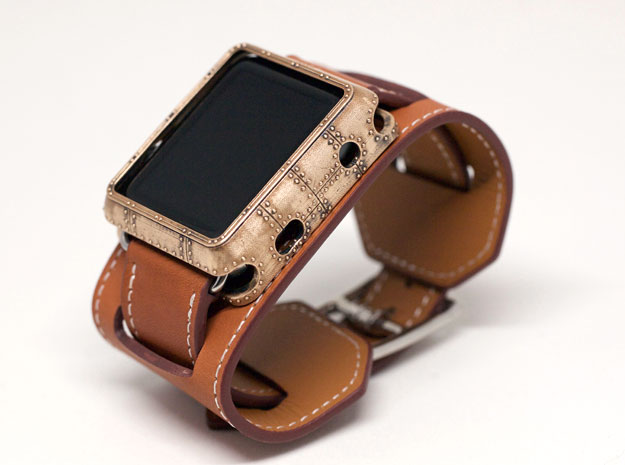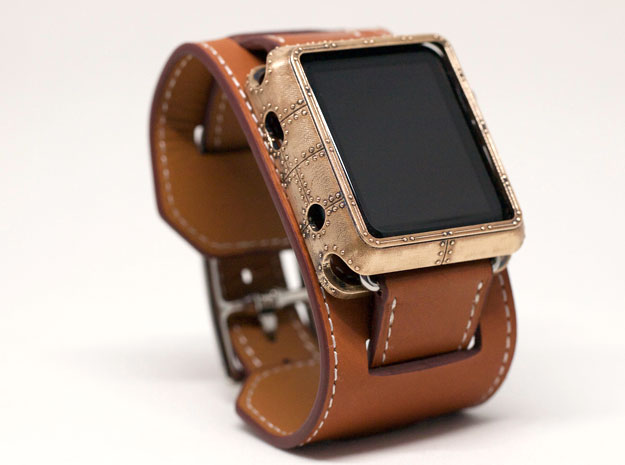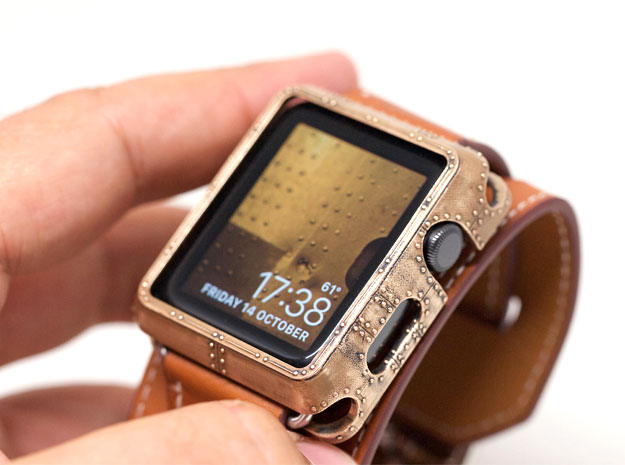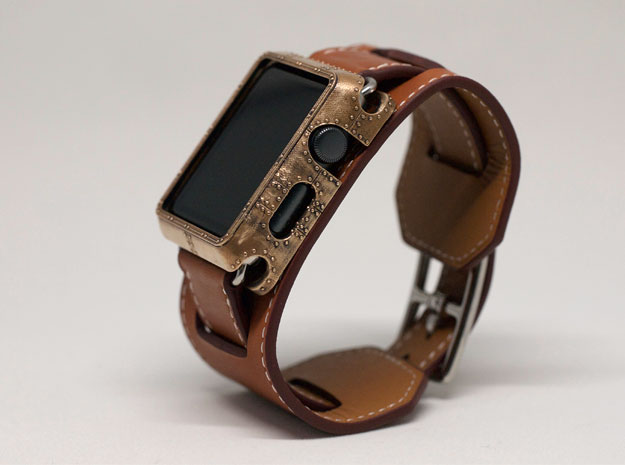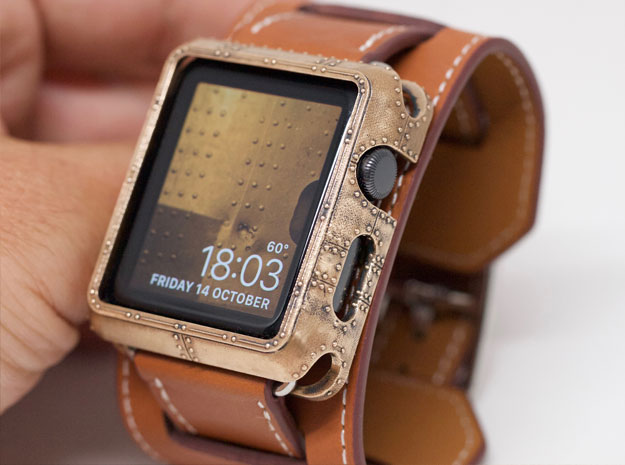
I recently purchased an Apple Watch and although I’m fine with how it looks, I wanted to try making a cover to protect it and maybe make it stand out a little.
All the covers/bumpers/protectors currently available look the same to me. They are plastic that either look like metal or chunky cases that turn the watch into a G-Shock.
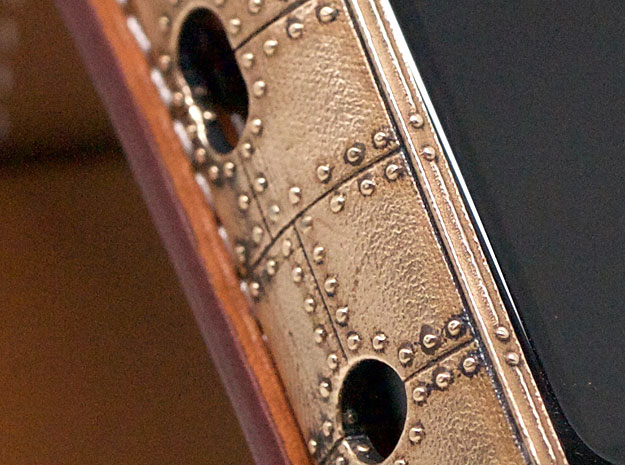
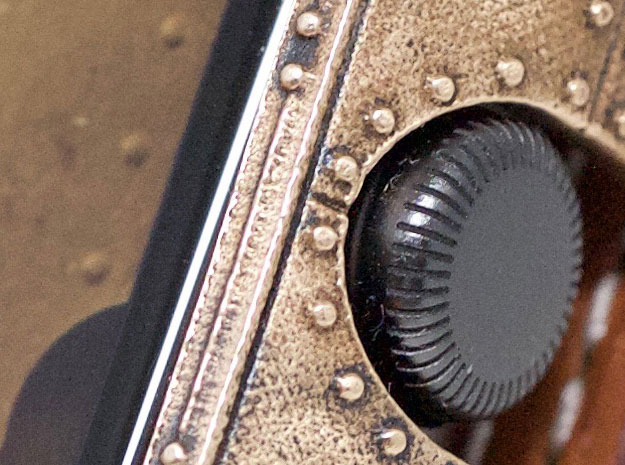
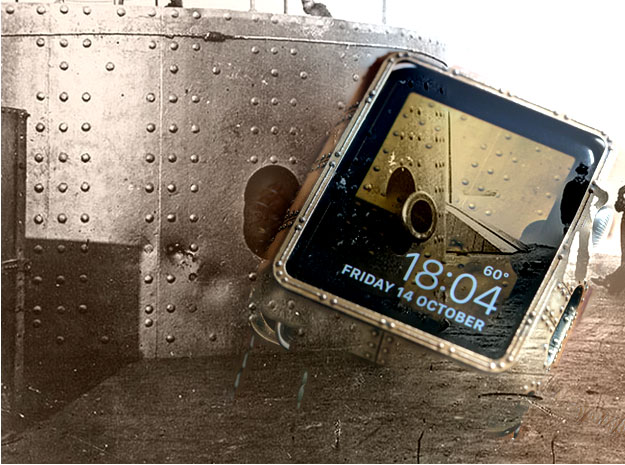
Recently I found myself looking at old photographs of ironclad ships from the late 19th century. You know, ships like the US Civil War steamship USS Monitor. I really liked the rough and ready look of the riveted iron sheathing and decided to reference that design language when creating the look of my new watch case. In normal speak; I was going make my watch case look like an old warship.
The first thing I had to do was make a base model that fit the watch that I would ornament later. Conveniently, Apple released a pretty comprehensive document called “Band Design Guidelines for Apple Watch,” that shows nearly every dimension of the watch. That is a good baseline to start. But experience has taught me that it’s more useful to have the watch IRL and a set of digital calipers for quick on the spot measurements and troubleshooting.
I don’t really sketch my ideas out on paper. I’m more comfortable starting out on the computer and began to create my base model using Rhinoceros - my go to 3D modeling software.
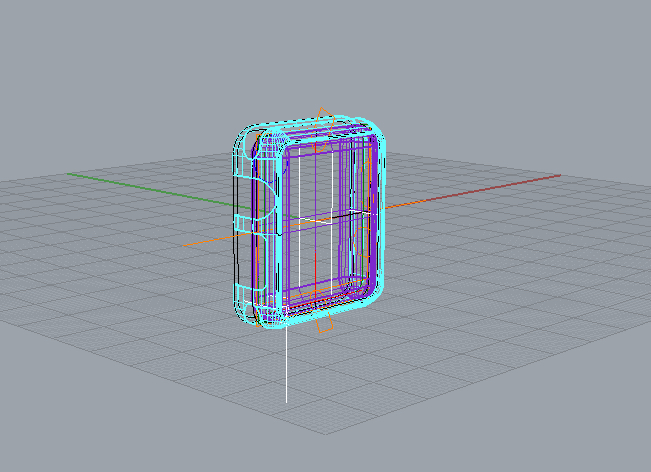
The digital "lug" and a version of the case
In short I created a “lug” which is nothing more than a simple model of the Apple Watch itself with a minimal amount of detail. (Basically the outer case, the sensor disc on the bottom, and the button and digital crown on the side.) I worked off that lug (bouncing ideas and trying various concepts out) to create the case keeping in mind that the end goal would be made in cast metal (which has it’s own set of guidelines).
Off and on, I spent the next couple days roughly the following ways: trying out a new idea, seeing how things worked, hitting walls, starting from scratch, sleeping on it, trying something new, failing, going for a run with my dog, approaching from a new direction, etc.
My first attempt is always a MK1. Any iterations on that model become a MK1.1. When I feel that I’ve exhausted my well of ideas as they relate to that particular base model, I start over from scratch and that becomes, you guessed it, a MK2. I follow this process until I settle on something the meets my needs, will work 90% of the time, and fits within my budget.
The model that did that for me was the MK4. Once I was hit this milepost, I warmed up my home 3D printer (a New Matter MOD-t) and printed the result in PLA plastic (taking account of the 2 to 3% shrink factor that may occur with PLA printing).
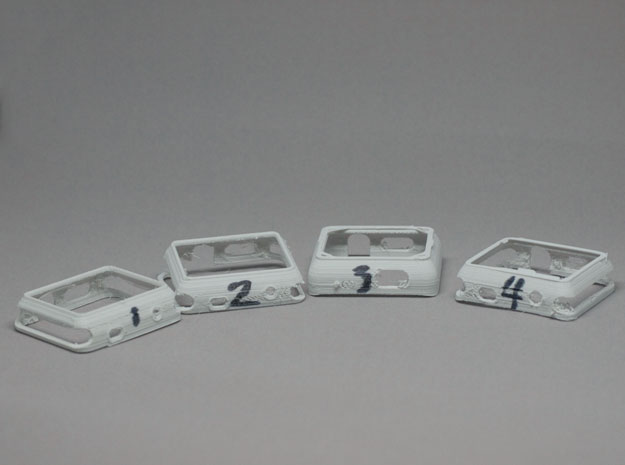
Variations printed on my New Matter MOD-t
It didn’t fit right. The openings for the band weren’t placed correctly.
MK4.1. Fix the openings and print again.
The bands fit well but the bottom arms were too weak and would probably bend too easily in metal or might blow out in casting. (One actually broke on the plastic print.)
MK4.2. Strengthened the walls of the band opening and I added some ornamental struts on the top. Started to print and “DOH!” Forgot to make the openings for the band! Not really a problem though since I knew from the prior design that my measurements were fine. I also found out I didn’t like the struts anyway.
Finally, I printed MK4.2.3 and it fit well and would definitely be producible in cast metal. A couple minor touch ups and this model became the MK04.03 - the base model.
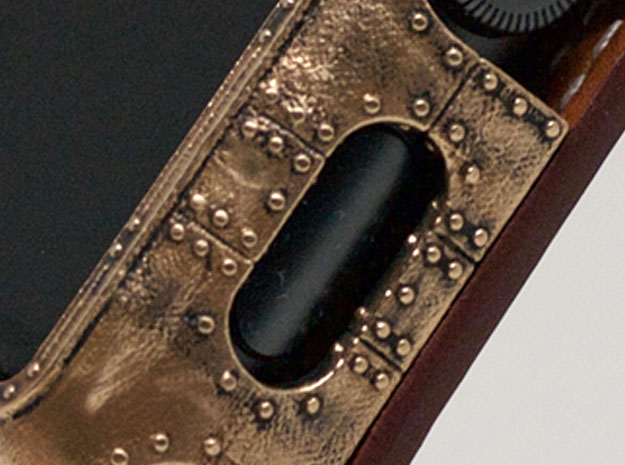
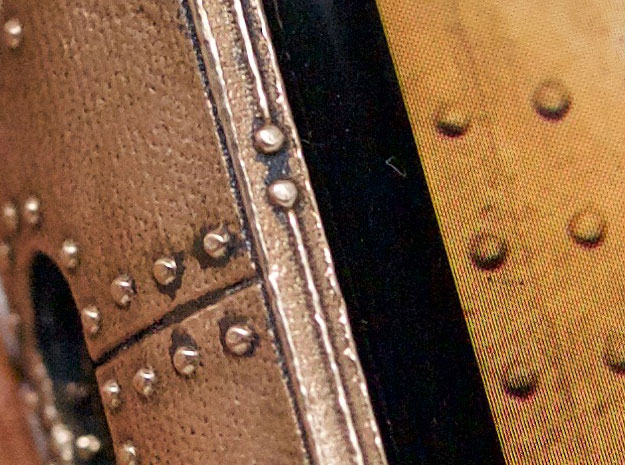
The next step was opening this model in a sculpting program called ZBrush. Could I have done the ornamental portions in Rhino? Yes, but the end result would look too perfect. By “hand” sculpting, the details would more closely approximate the look of the iron sheathing of the ship - which if you look closely, looks almost haphazard and is definitely imperfect - lines aren’t straight, rivets aren’t perfectly in line, etc.
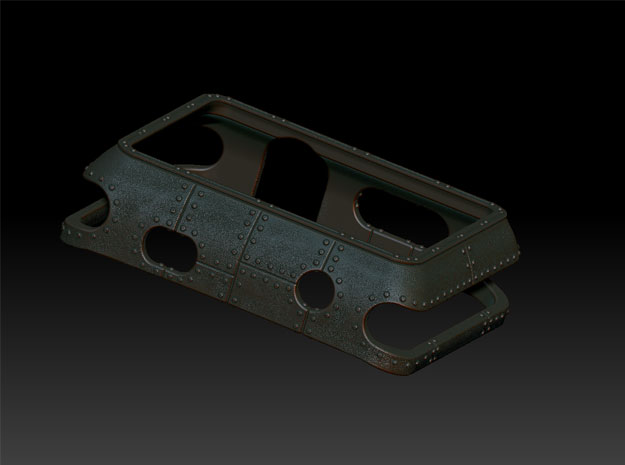
The case after some sculpting in ZBrush
This sculpted model is now the final digital product. The thing to do now is to get it sent off to a producer. I often use Shapeways for this step because they offer 3D prints in variety of materials at reasonable prices with quick turnaround time. It’s still not what you would call cheap, which is the reason I spent the time with my MOD-t iterating the design at home before I spent more sizable money on a quality print.
I decided to get the first real print done in raw bronze. I chose bronze because it’s an “old timey” metal and because from working with it in the past, I knew I could put a nice patina on it later using Liver of Sulphur.
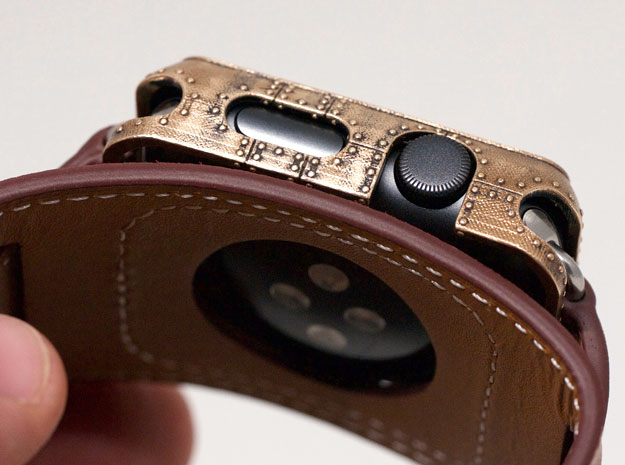
I also thought that the color and overall design of the case would look really nice paired with a leather band that one might have been able to procure back in the 1860’s. This band on Amazon fit the bill so I ordered it so that I’d have it when the case arrived from Shapeways.
When the case arrived I took some photos so I could document how it looked before I did anything further to it. A nice thing about Shapeways is that you can sell the things you make. So I wanted to make sure I had photos of the case before I did any additional work so that folks would know what they would get if they bought one.
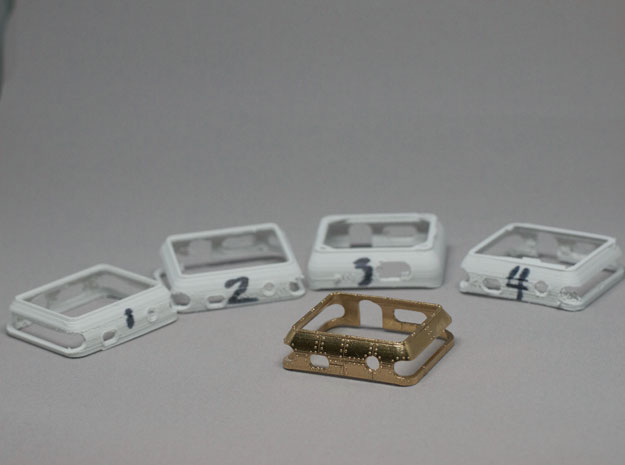
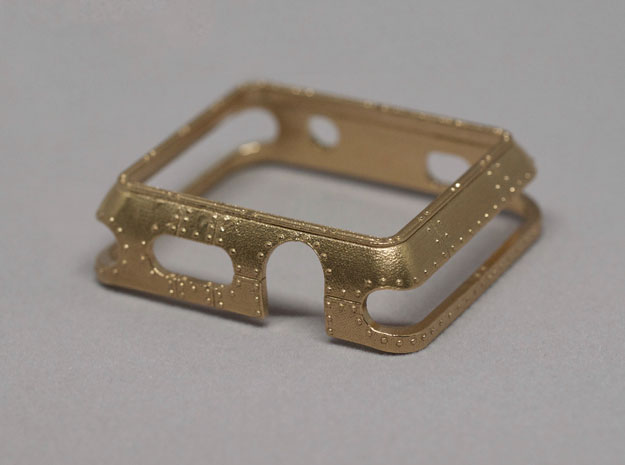
Raw bronze case straight out of the Shapeways box.
The final step was to patina the case. Liver of Sulphur is a great thing to have around if you like to put interesting surface treatments on metals. It’s fairly innocuous - though it does stink - but because it is a chemical I try to be as safe as possible. Goggles, proper glassware and use of a fume hood (the blower above my stove!). The process is pretty simple.
Warm water + Liver of Sulphur + the object to be treated.
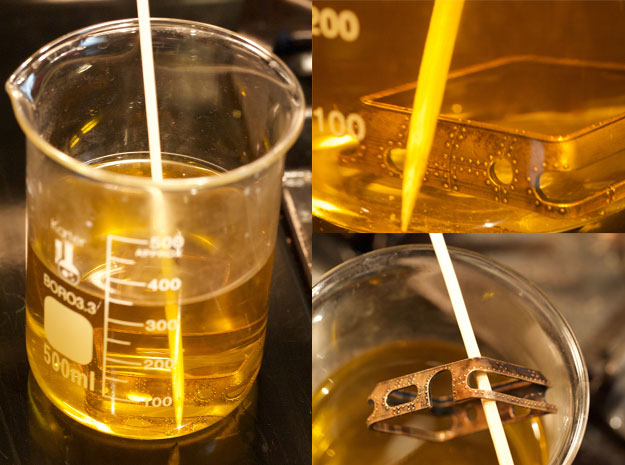
Getting treated in a bath of water and liver of sulphur
Let sit. Stir a bit. Let sit. When it’s about done take it out and put it in a glass with baking soda to cancel out the reaction. Wipe a bit with some paper towels.
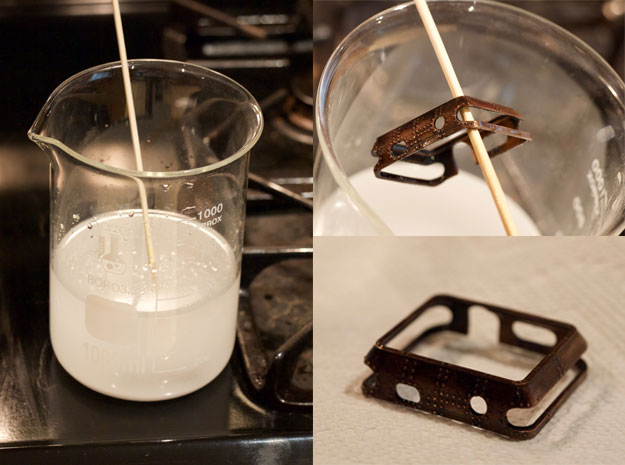
Baking soda bath and case post treatment
Polish and clean a bit with a Dremel.

Polish and clean with a Dremel rotary tool
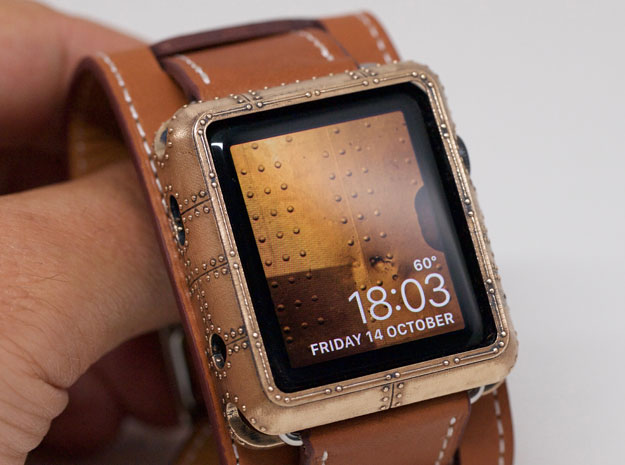
For the final touch, I cropped this old photo of USS Monitor and added a sepia tone to it. I then uploaded that photo to my watch to use as the background. Here’s a link to that cropped photo.
Once all that is done, put it all together and take some photos!
And that’s how I made an Apple Watch cover modeled after an ironclad ship.
